Applications
Applications represent any endpoint that you would like to connect to another application via a directory. An application can be any number of things, including:
- an end user facing app, running on web, native, or even a container application such as electron.js, or similar.
- a set of REST APIs
- an AI agent
In order to get your application connected, you’ll need to add the application into Connectifi, along with its Actions and Receptors. Applications are organized into Directories, which can enforce team permissions and policies. This means an application needs to be connected to the same directory as another application in order for them to be able to interoperate with one another.
Application Types
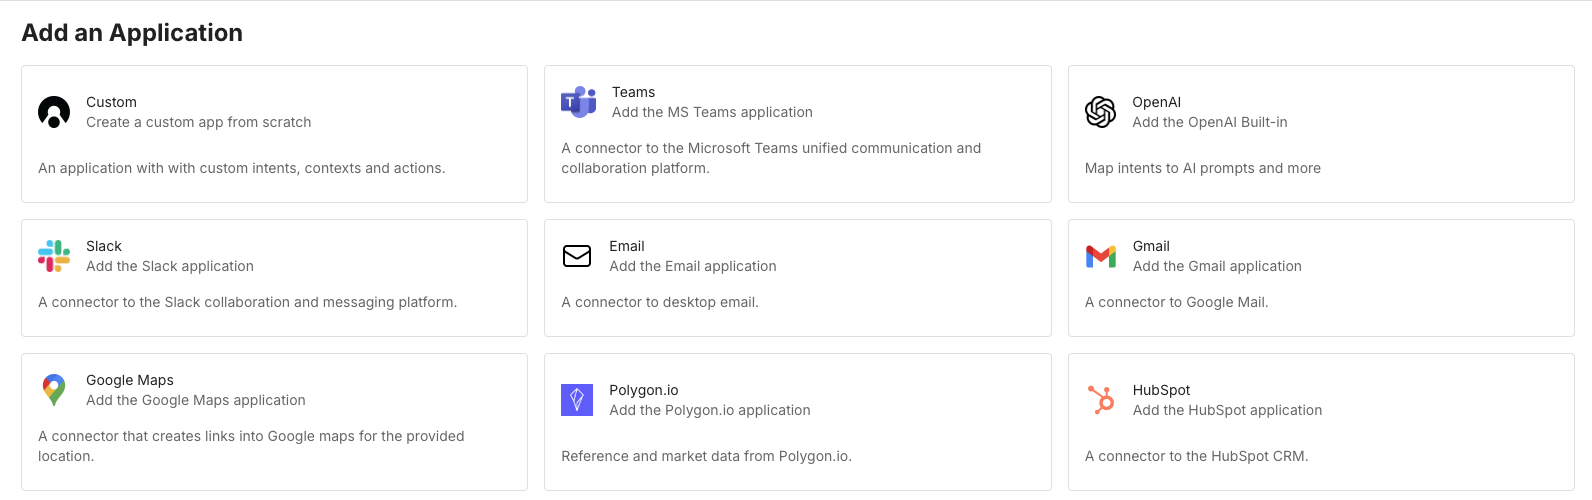
When adding an application to a directory, you will get a range of types of applications to choose from.
The main choice though, is between choosing a built-in application that is preset to integrate with a specific 3rd party,
or a ‘Custom’ type, which gives you full control to configure anything you want.
Many built-in types have setup requirements like API keys. Learn more about built-in setup here.
Creating a Custom Application
Adding your applications to a directory allows them to leverage contexts and intents and other features of the directory.
Step 1: Application Info
-
Open the directory where the application will be located, click on the
Create Applicationbutton in the top-right. -
Application Info: Application info is basic metadata for your app such as name and description.
-
Application Name: This should be a clear unique ID of your application. If you have different versions of the application such as dev, prod, or even a version number, you can prefix or suffix your application name to ensure clarity. Application Name is not changeable in the future.
-
Application Title: This should be a clear name for your user, as it will be user-visible.
-
Logo: We recommend a square transparent png logo, in either 124x124 pixels, or 256x256.
Step 2: Agent SDK
- Agent SDK: Select the type of SDK you want to use in your application
-
Web: Our WebSDK, works if you are building for the browser, or alternatively if you are using an Electron.js container or similar. Our WebSDK can be installed using
npmor fetching the package directly from a CDN. Read more in our Web SDK Guide -
Native: We offer SDK’s for both .Net applications, and iOS/Swift. Checkout our .Net and iOS guides.
-
None: If you are building a server side application, or an API, you can do so without using an Agent SDK.
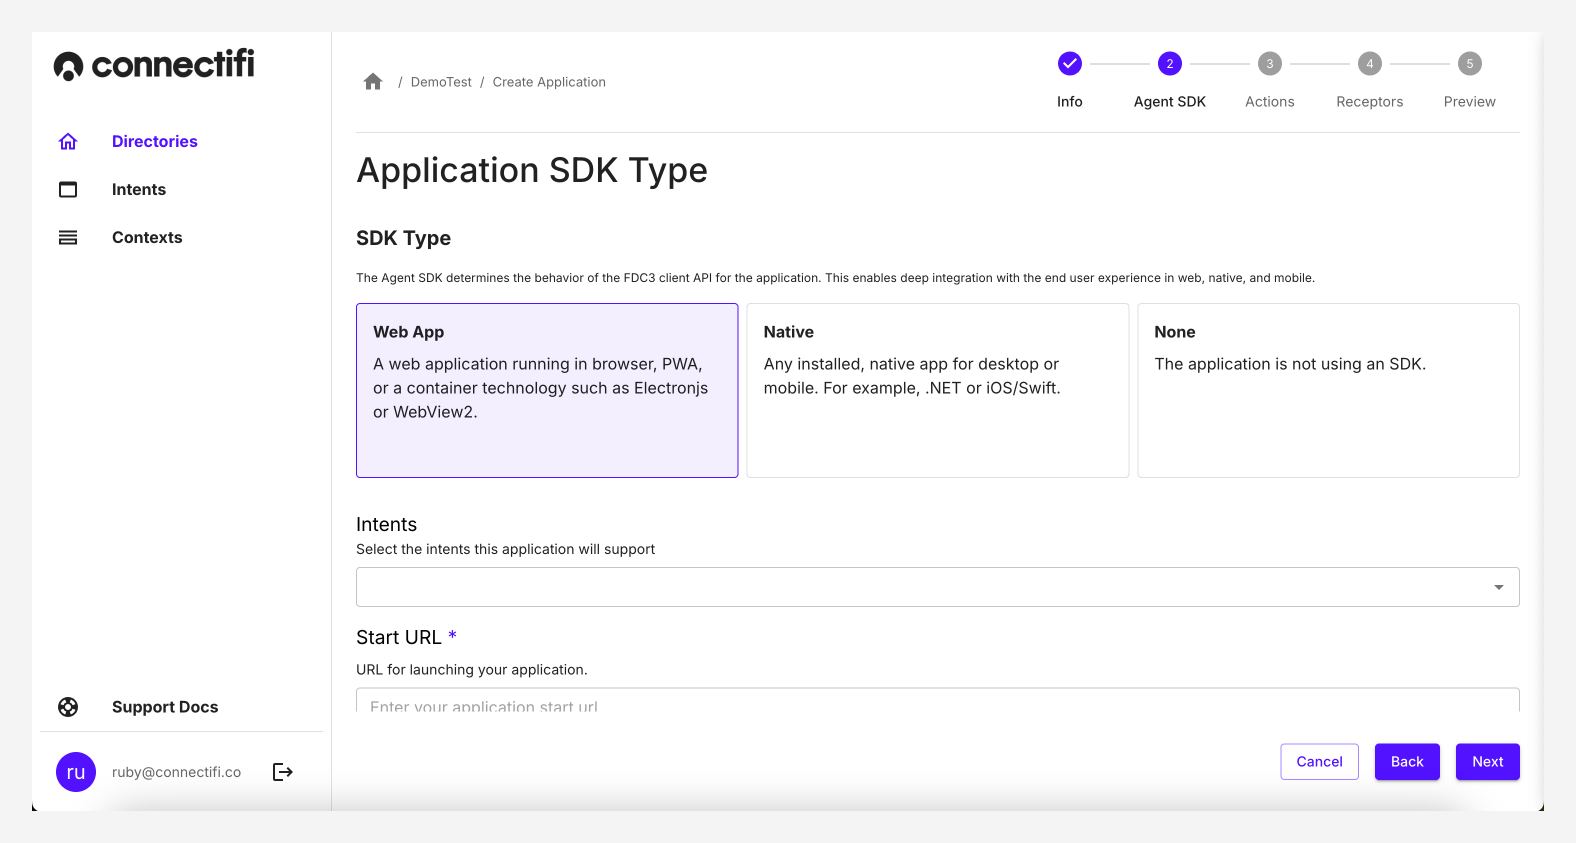
- Intents: Add the intents that the Agent SDK will handle. Intents added here will allow Connectifi to make the application discoverable and launch it when an end user invokes the intent, even if the application is not running. All intents are available to use with applications, both system/global and custom defined. Checkout Intents for more information on how to create these.
Web App Fields
StartURL: Specify the url to use for launching your web app.
Allowed Origins: Allowed Origins is optional, and is only applicable when the application is in a strict directories (See Directories for more information). This setting allows you to specify alternate URLs for your application to be identified by. Uses for Allowed Origins include:
- Applications using different domains (i.e. localized URLs or)
- Applications that use a “launch” URL that is a different URL from which the app runs
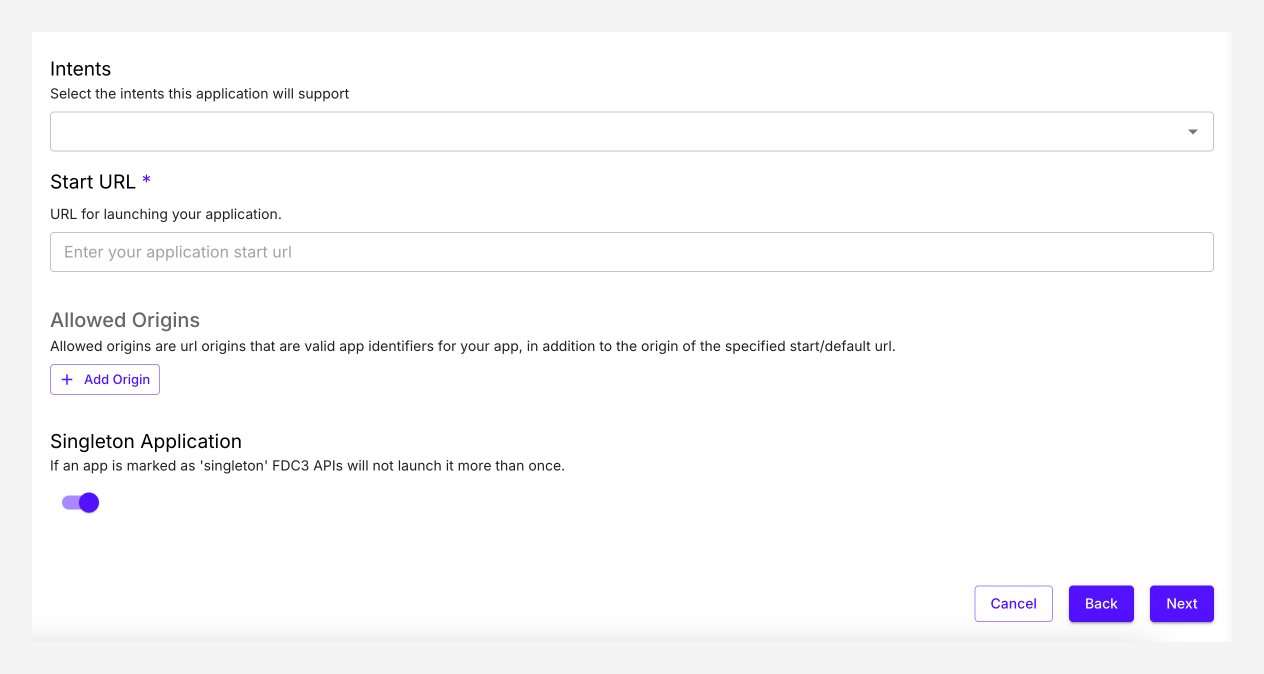
Singleton Application: The Singleton Application setting identifies an active instance of the application and continues to use the instance to resolve all intents, rather than launching another instance of the application with each raised intent. It is only used during intent resolution. If an application is marked as a singleton application, users are not provided with an option to open another instance of the application in the resolver modal.
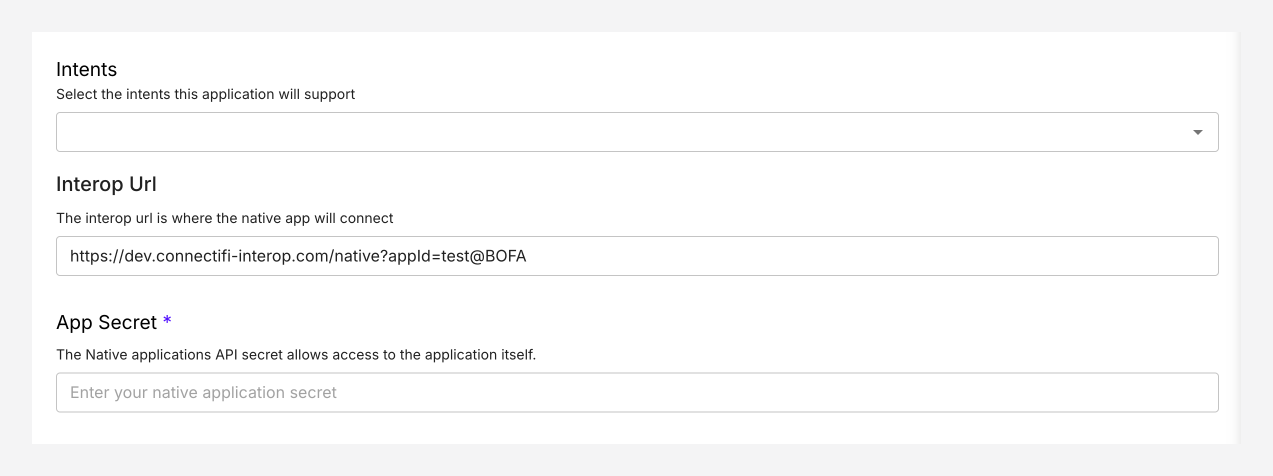
Native App Fields
Interop URL: Specify the location of your native app in the “Interop URL” field.
App Secret: Add your native apps API key.
Step 3: Actions
Read more in our Actions guide
Step 4: Receptors
Read more in our Receptors guide