Connectifi Slack Setup
This doc explains Slack bot setup.
Prerequisites
You will need slack admin privs as well as Connectifi admin privs.
Connectifi Administration Part One
The first thing to do is to add the Slack builtin to your Connectifi directory. Login in to your Connectifi admin account and create or select the directory you want to add the builtin to.
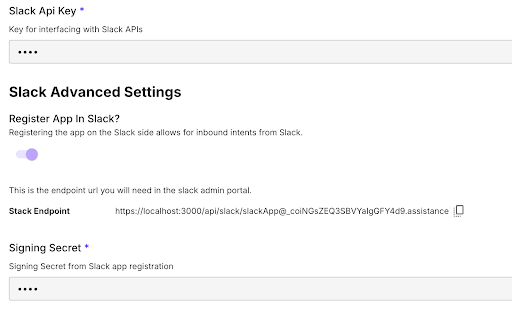
Click the Add Application button and then select Slack. Fill out the title and set the apiKey to a dummy value, we will update this later. Click Next and then check the “Register in Slack” button. Supply dummy values for both the signing secret and bot token (likewise we will update these later). Click Next once more and then click Finish. Once you’ve finished, you should see a screen like below, the “Stack Endpoint” value is what we need to move on to the Slack admin section.
Slack Administration Part One
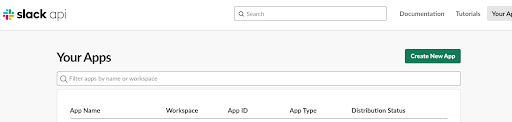
We need to create an application in the slack api admin panel, this is where we get our main slack api key, bot token etc. The first thing to do is to login to api.slack.com and then click on “Your Apps” at the top left.
Basic Information
Once you are on the apps page, click the “Create New App” button as seen below.
When the modal displays, select “From scratch”. You’ll be prompted for an App Name and will have to choose a slack workspace to install the app into. Once you’ve filled out the form, click the Create App button and you’ll be taken to the apps Basic Information page.
Create Bot OAuth Token
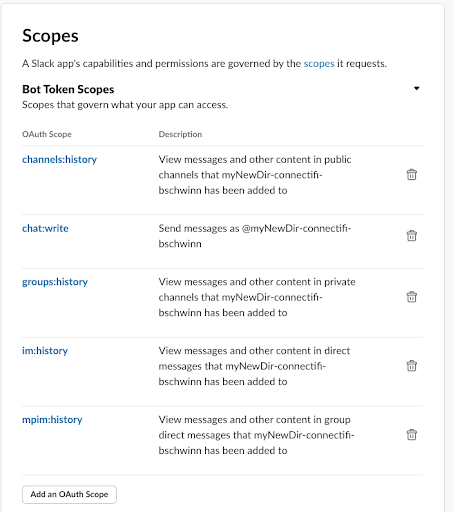
Select “OAuth and Permissions” from the left hand nav. Scroll down to “Scopes” and click the “Add an OAuth Scope” button. Search for and add the following scopes:
- channels:history
- chat:write
- groups:history
- im:history
- mpim:history
- users:read.email
The list should look something like the screenshot below:
Be sure to click the “Install to <workspace>” button at the bottom in order to generate the Bot Token which is needed for authentication.
Connectifi Administration Part Two
Now that we have our API key and bot token from the Slack side, we can finish our application setup on the Connectifi side to ensure secure communications.
Got back and edit the Slack builtin we created in Part One and update the Api Key. If not selected already, check the “Register in Teams” checkbox and fill out the Signing Secret and Bot Token.
NOTE: the api key and bot token are the same thing and we may need to remove a field, for now, set both.
Slack Administration Part Two
Now that we have everything set up for authentication on the Connectifi side, we can finish our application setup on the slack side. Go back to the application we created in the slack admin portal to continue configuring.
Interactivity and Shortcuts
Navigate to the “Interactivity and Shortcuts” in the left nav, and turn on “Interactivity”, then supply your stack url in the form:
https://<stack host>/api/slack/<appId>This url is obtained from the Connectifi Admin system.
Event Subscriptions
Navigate to the “Event Subscriptions” in the left nav, and turn on “Enable Events”, then supply your stack url in the form:
https://<stack host>/api/slack/<appId>This url is obtained from the Connectifi Admin system.
In the Subscribe to Bot Events section, select the following:
- message:im
- message:groups
- Message:channels
- message:mpim